Complete Guide to AI-Generated Models for 3D Printing: From Concept to Finished Product
3D printing technology enables us to transform digital models into real objects, while AI generation technology makes creating these models unprecedentedly simple. Whether you're a 3D printing novice or experienced enthusiast, mastering AI-generated model techniques can dramatically improve your creative efficiency and output quality.
Revolutionary Impact of AI-Generated Models in 3D Printing
In traditional 3D printing workflows, model design often represents the biggest bottleneck. You might have great ideas but lack 3D modeling skills, or you can model but designing a complex model requires days or even weeks. AI generation technology completely changes this.
Now, you simply need to describe your desired object in text or take a photo, and AI can generate models ready for direct 3D printing within 30 seconds. This revolutionary change enables more people to enjoy 3D printing's benefits while allowing experienced users to realize ideas more rapidly.
Choosing the Right AI Generation Platform
Open3D.art: The Top Choice for 3D Printing Enthusiasts
For 3D printing users, Open3D.art offers several outstanding advantages. First is complete freedom—you can generate and download unlimited models, which is crucial for 3D printing projects requiring repeated testing and adjustments.
More importantly, Open3D.art directly supports STL format output. STL is 3D printing's most commonly used file format, supported by virtually all printers. This means you can directly import generated models into slicing software without additional format conversion steps.
The 30-second generation speed perfectly suits 3D printing workflows. When you discover printing results need adjustment, you can quickly generate new versions for testing, dramatically improving iteration efficiency.
Other Platform Comparisons
While other AI generation platforms exist, most either charge high fees or don't directly support STL format. For budget-limited individual users and small maker spaces, Open3D.art's free model is clearly more attractive.
Optimizing AI Prompts for 3D Printing
Basic Prompt Structure
When generating models for 3D printing, prompts must consider printing's physical limitations. A good prompt should include:
"A [item description], suitable for 3D printing, minimum 2mm thickness, no overhanging structures, flat bottom"
Examples:
- "A modern-style vase, suitable for 3D printing, 3mm wall thickness, stable flat bottom"
- "A phone stand, suitable for 3D printing, no support structures needed, 45-degree angle"
Descriptions to Avoid
Certain descriptions may lead to difficult-to-print models:
- Overly complex overhanging structures
- Too-fine details (smaller than 0.4mm)
- Hollow designs without drainage holes
- Models with uneven bottoms
Material Property Considerations
Different 3D printing materials have different characteristics, requiring corresponding prompt adjustments:
PLA Material: Suitable for decorative items and prototyping
- "A decorative dragon sculpture, suitable for PLA printing, rich details but stable structure"
ABS Material: Suitable for functional items
- "A durable toolbox, suitable for ABS printing, 3mm wall thickness, with reinforcement ribs"
PETG Material: Suitable for transparent or semi-transparent items
- "A transparent lampshade, suitable for PETG printing, 2mm wall thickness, smooth surface"
Model Checking and Optimization
Essential Checks After AI Generation
AI-generated models aren't always perfect for 3D printing—the following checks are necessary:
Geometric Integrity: Ensure models are watertight 3D solids without holes or non-manifold geometry. Open3D.art-generated models typically have good geometric integrity, but checking remains recommended.
Wall Thickness: Check if the model's thinnest areas meet your printer's minimum wall thickness requirements. Most FDM printers require at least 0.8mm, while resin printers can achieve 0.4mm.
Support Requirements: Evaluate whether models need support structures. Areas with overhanging angles exceeding 45 degrees typically require supports.

Using Free Tools for Optimization
Blender is free 3D modeling software for optimizing AI-generated models:
- Import STL files
- Use "repair" functions to fix geometric issues
- Add thickness or adjust details
- Re-export STL files
Fusion 360 is free for personal users, particularly suitable for functional item post-adjustments:
- Import mesh bodies
- Convert to solids
- Add functional features
- Optimize printing orientation
Slicing Settings Optimization
Slicing Parameters for AI-Generated Models
AI-generated models are often more "organic" than traditionally modeled ones, requiring slicing parameter adjustments:
Layer Height Settings:
- Decorative items: 0.1-0.15mm (high quality)
- Functional parts: 0.2-0.25mm (balanced quality and speed)
- Prototypes: 0.3mm (rapid printing)
Infill Rate:
- Decorative items: 10-15%
- Functional parts: 20-30%
- Load-bearing parts: 40%+
Support Settings:
- Support angle: 45-60 degrees
- Support density: 15-20%
- Support contact distance: 0.2mm

Real-World Application Cases
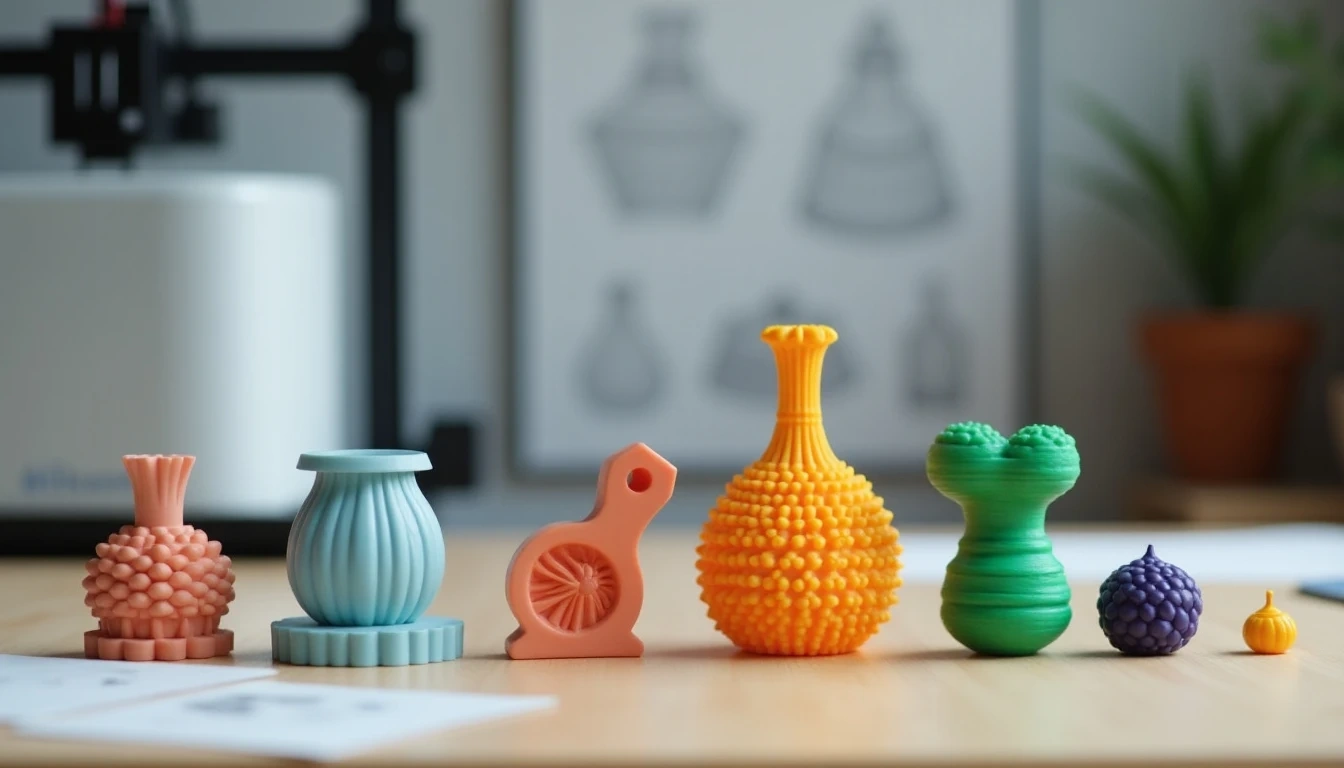
Home Decorative Items
Using the prompt "A Nordic-style candleholder, suitable for 3D printing, stable base, can hold standard candles," generated models can be directly printed. Recommended printing parameters: PLA material, 0.15mm layer height, 15% infill.
Functional Tools
"An ergonomic screwdriver handle, suitable for M6 screw rod, anti-slip textured surface." Such functional items should be printed with ABS material, 20% infill, ensuring strength.
Toys and Models
"A cartoon-style toy car, suitable for children's play, no small parts, rounded corners." Children's toys require special safety attention—recommend PLA printing with all rounded corners.
Print Quality Enhancement Techniques
Model Placement Optimization
AI-generated models may not be in optimal printing orientation—adjustments in slicing software are needed:
- Maximum contact surface facing down
- Minimize support requirements
- Consider surface quality requirements
Printer Calibration
Before using AI-generated models, ensure printer condition:
- Precise bed leveling
- Clean nozzles
- Dry materials
Post-Processing Techniques
Support Removal: Use professional support removal tools to avoid damaging model surfaces.
Surface Treatment:
- PLA: Sandpaper polishing, acetone smoothing (ABS only)
- Resin printing: UV curing followed by polishing
Coloring and Painting: AI-generated models typically have rich geometric details, suitable for paint decoration.
Troubleshooting and Solutions
Common Printing Issues
Poor Layer Adhesion: May result from AI-generated models' uneven wall thickness—check and adjust printing temperature.
Difficult Support Removal: AI-generated organic shapes may produce complex supports—try adjusting support density and contact distance.
Lost Details: AI-generated details may exceed printer precision—simplify models appropriately or use high-precision settings.
Model Repair
If printing fails, you can:
- Regenerate models (AI generates slightly different results each time)
- Manually repair in Blender
- Adjust prompts and regenerate
Cost-Benefit Analysis
Time Costs
Traditional workflow: Design (2-8 hours) → Print (1-12 hours) → Post-processing (1-2 hours) AI workflow: Generate (30 seconds) → Check optimization (15-30 minutes) → Print (1-12 hours) → Post-processing (1-2 hours)
AI generation can save substantial design time, particularly suitable for rapid prototyping.
Material Costs
By rapidly generating multiple versions for testing, you can actually reduce material waste from poor designs.
Learning Costs
Mastering AI generation prompt techniques is much easier than learning 3D modeling software—beginners can get started within days.
Creative Application Extensions
Customized Products
AI generation makes personalized customization simple. Users can describe their unique designs and quickly generate and print them.
Educational Applications
Schools and training institutions can use AI-generated teaching models, such as historical artifact replicas and scientific experiment equipment.
Small-Batch Production
For projects needing few special parts, AI generation + 3D printing combinations are more economical than traditional manufacturing.
Future Development Trends
AI generation technology continues rapid development, with expected future support for:
- More precise dimensional control
- Material property optimization
- Direct generation of models with supports
- Multi-color/multi-material model generation
Start Your AI + 3D Printing Journey
If you haven't tried AI-generated 3D printing models yet, now is the perfect time. Visit Open3D.art, use simple text descriptions to generate your first model, then watch it become reality on your 3D printer.
This rapid transformation from idea to physical object represents the charm of AI-era 3D printing. Whether you want to create decorative items, practical tools, or artworks, AI can help you quickly transform thoughts into tangible objects you can hold.
Remember, the best learning method is practice. Start with a simple project, accumulate experience through hands-on work, and soon you'll become an AI + 3D printing expert.